Specifications
CRC series
| Test method | ASTM D 5334-00 and D 5930-9, IEEE Std 442-1981 |
| Temperature range | 0 - 60 °C |
| Thermal conductivity of reference | 0.2 W/mK (nominal value) |
| Traceability | to NPL National Physical Laboratory, United Kingdom |
Downloads
(PDF, 121.6 KB)
Introduction
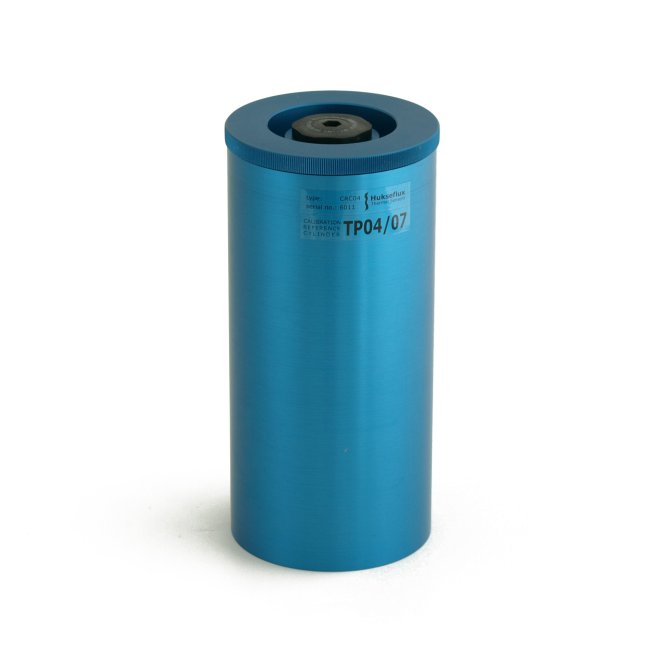
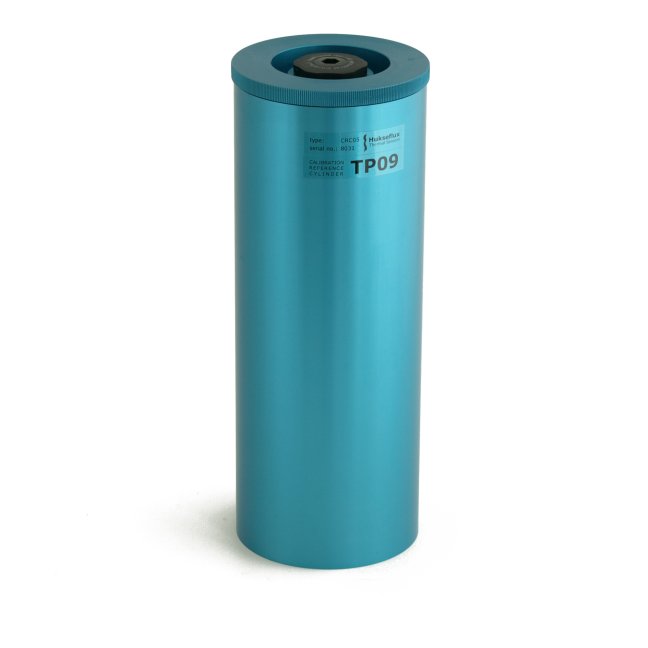
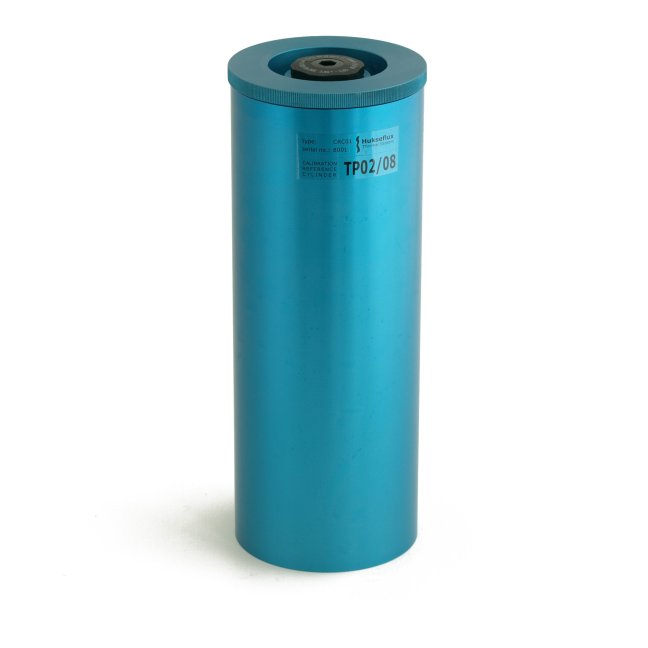
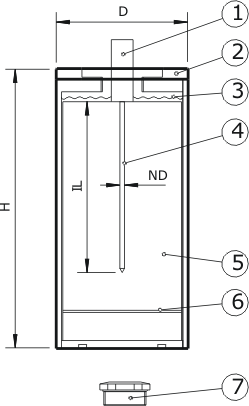
The hart of the CRC cylinders is a specially manufactured amorphous plastic reference material (5). (See Figure 1). Contrary to other plastics, this material does not have any directionally dependent thermal properties. In the plastic material a hole is drilled (4), with the approximate outer dimensions (ND Needle Diameter and IL Insertion Length) of the needle that needs to be calibrated. The plastic material is incorporated in a metal protection casing (2). A plug (7) is provided for sealing purposes. In order to guarantee perfect contact between needle (1) and reference material (5), the metal casing is filled with a fluid, glycerol (3). An additional hole (6) is provided in order to be able to perform checks of material stability with thin needle probes. The user is recommended to send the CRC to Hukseflux for a check of material stability every 5 years.
Suggested use
CRC’s contain traceable thermal conductivity reference materials for calibration of Non-Steady-State Probes.
Areas of Application
CRC series
